During a snake encounter while hiking, stop, locate the animal, and give it space. Back away slowly rather than approaching, handling, or trying to move it. If the snake blocks your route, waiting at a distance or turning back is a better choice than squeezing past.
You do not need to identify the species before taking those precautions. This guide explains how to respond on the trail, what to avoid, and how to prepare before your next hike in snake country.
Stop and Check Where the Snake Is
Your first task is to understand where the animal is in relation to your feet and your route. Avoid taking another step toward it while you are distracted by your phone, a conversation, or the scenery.
At Scotts Bluff National Monument, the National Park Service advises visitors who encounter a rattlesnake to stop until they know where it is, then back away slowly. Its rattlesnake encounter guidance provides a useful starting point for that response.
Let your hiking companions know what you have seen so they do not continue forward unaware. Keep the group from gathering around the animal for a closer look.
If you are hiking with children, give a simple instruction such as “Stop here and stay with me.” A calm, clear direction is more useful than several people shouting different instructions.
Give It Space Without Creating Another Hazard
Back away slowly while checking your footing. On a narrow trail, do not exchange proximity to the snake for a fall hazard at the edge of the path.
A snake across the trail does not create an obligation to pass it. You can pause well away from it, allow time for the route to clear, or turn around. Reaching a viewpoint or completing a planned loop is not worth forcing the encounter.
For example, imagine a snake resting beside the only clear passage between two rocks. Trying to step over it or push through the shrubs beside it makes the situation more complicated. Returning along the visible path gives you a straightforward alternative.
The National Park Service’s Joshua Tree safety guidance recommends staying on marked trails, backing away slowly from rattlesnakes, and avoiding places where hands or feet could reach hidden animals.
Do Not Try to Manage the Snake Yourself
Your role as a hiker is to create distance, not to clear the trail by moving wildlife. Do not pick up the snake, poke it with a trekking pole, throw objects at it, or attempt to kill it.
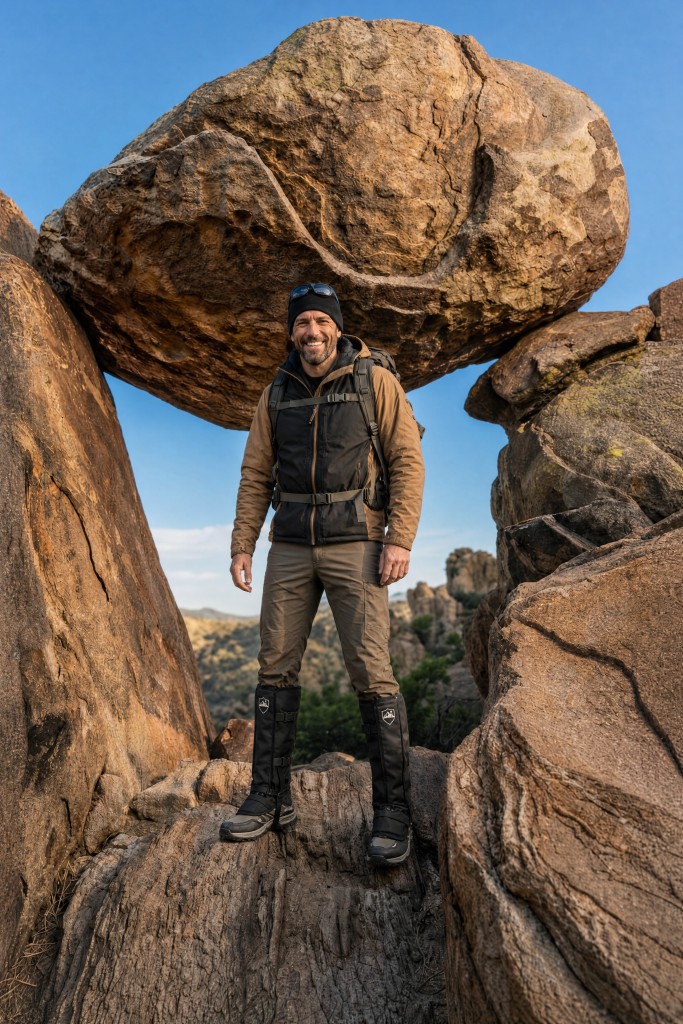
A trekking pole does not turn a close encounter into a controlled situation. Neither does wearing boots or gaiters.
Also avoid approaching for a photograph or trying to make the animal move into a better position. If taking a picture would require getting closer, skip the picture.
You can tell park staff about an encounter that affects a busy trail or visitor area. Describe the location clearly rather than attempting to capture the snake for identification.
Do You Need to Know Whether It Is Venomous?
Not before deciding to leave it alone. A trail encounter is not the time to test your identification skills at close range.
Learning about local wildlife before a trip can be useful, but an uncertain identification should not become a reason to approach. Follow the same basic response when you cannot identify the animal: give it space and avoid handling it.
If identification interests you, use your destination’s wildlife resources afterward. Keep that learning separate from the immediate decision about where to walk.
Prepare Before Your Next Hike
A useful preparation routine starts with the destination. Review the park or land manager’s current trail information, wildlife advice, and access conditions. Choose a route that suits your group and leave room in the schedule to turn back.
The National Park Service’s Ten Essentials covers navigation, lighting, first aid, extra supplies, and other preparation for outdoor emergencies. It also recommends telling someone where you are going and when you expect to return.
Make those preparations practical rather than theoretical. Know how to find your location on your map, carry the supplies your route requires, and consider how you would contact help where phone coverage is limited.
Before leaving, agree on a simple group plan: if someone spots a snake, everyone pauses, avoids crowding the area, and gives the person nearest the animal room to move away.
Choose Equipment for the Conditions
Equipment decisions belong in your preparation, before an encounter occurs. Consider your footwear, clothing, route, and the coverage you are looking for.
Our guide to gaiters for hiking and rough trails explains why ordinary trail gaiters and products intended for snake protection should not be treated as interchangeable.
If you are evaluating lower-leg equipment, review how to choose snake gaiters. If your decision also involves replacing your footwear, the snake gaiters vs. snake boots comparison covers the differences between separate gaiters and an integrated boot design.
No equipment guarantees protection from every bite or makes it appropriate to approach a snake. Coverage and fit have limits, and product claims should be supported by information about the specific model.
For the product details, explore AVENTURIX Snake Gaiters. The product page links to Amazon when you are ready to review the current listing.
If Someone Is Bitten: Seek Emergency Care
A suspected venomous snakebite requires urgent medical attention. Call 911 or activate your emergency communication device and give your location. Do not wait for symptoms to appear, and do not drive yourself to the hospital.
While arranging help, follow emergency responders’ instructions. Keep calm, remove rings or watches before swelling develops, and avoid unnecessary movement.
Do not apply a tourniquet or ice, cut the wound, or try to suck out venom. Do not capture or kill the snake, and never handle a dead snake.
Read the CDC’s snakebite first-aid guidance before traveling in remote areas. A first-aid kit does not replace emergency medical treatment.
A Simple Plan to Remember
For a snake encounter without a bite, remember three actions: stop, give space, and choose a route that does not bring you closer. Waiting or turning back is a valid end to the decision.
Prepare your equipment and emergency plan before the hike, then keep your attention on the trail. You do not need a close photograph, a species identification, or a completed itinerary to make a sensible choice.