Hiking in snake country starts with practical preparation: understand your route, choose suitable footwear, pack essential supplies, and know how you will get help if plans change. Snake gaiters may be part of that setup, but they are only one decision in a broader day-hike plan.
Use this checklist before your next outing to organize your gear and spot problems while you still have time to solve them.
1. Check the actual route before packing
Start with the trail you intend to walk, rather than a general description of the region. A maintained loop near a visitor center and a remote route through overgrown washes call for different preparation, even when they appear close together on a map.
Check the land manager’s current information for closures, weather alerts, trail conditions, and local wildlife guidance. If information is unclear, contact the visitor center or ranger station.
Then picture the outing in sections: the approach, the main climb, your planned break, and the return. Where might progress be slower? Is there an exposed stretch that deserves extra time? Does an optional side trip make the return unnecessarily tight?
A useful plan leaves room to skip that side trip. It should still work if your group moves more slowly than expected.
2. Choose clothing and footwear as a complete setup
Try your hiking pants, socks, boots, and any gaiters together before the day of the hike. Gear that feels fine on its own can become uncomfortable when layered.
Saguaro National Park’s snake safety guidance recommends boots and loose-fitting pants, watching where you place your hands and feet, and carrying a flashlight after dark. Use local advice for your destination rather than assuming that one region’s conditions apply everywhere.
For your own fit check, walk up a few steps, bend your knees, and sit down. Notice whether your pants bunch behind your knees, your footwear rubs, or an added layer changes your stride.
Do you need ordinary hiking gaiters or snake gaiters?
These categories serve different purposes. Conventional hiking gaiters may be intended for debris, snow, or wet conditions; that does not establish protection against snake bites. Check the intended use and supporting information for the specific product.
If you are weighing the options, our guide to gaiters for hiking and rough trails explains the distinction. For a closer look at purchase decisions, read how to choose snake gaiters.
No gaiter removes every risk. Wearing additional equipment should not change your decision to avoid stepping or reaching into places you cannot see.
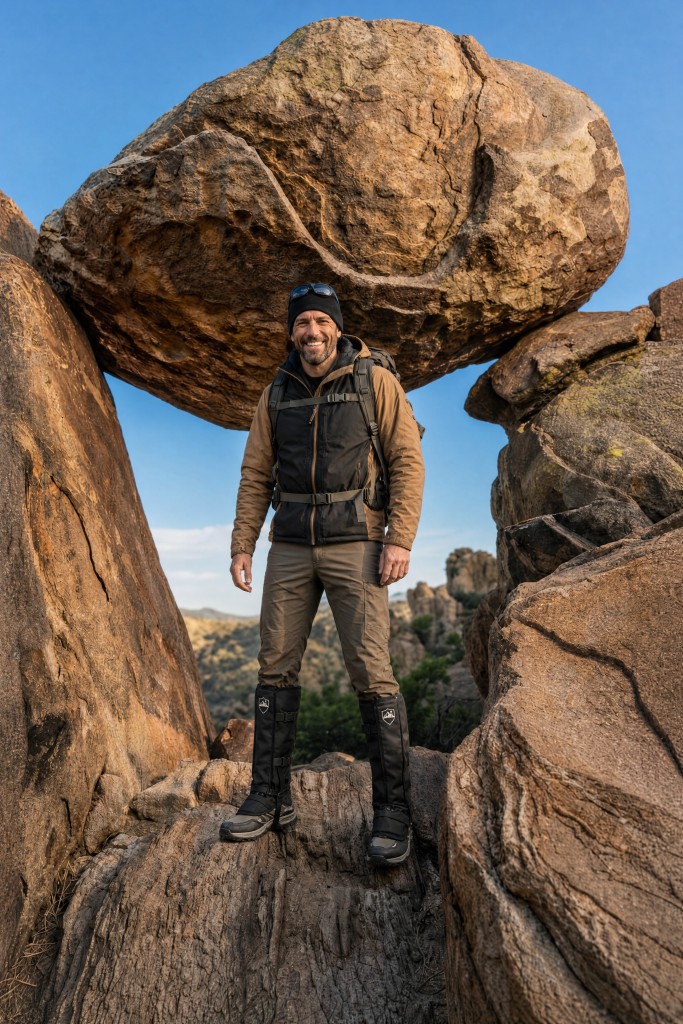
3. Test your gaiters before reaching the trailhead
The first few minutes of a hike are a poor time to discover that you do not understand a closure or that a strap interferes with your boot.
Follow the manufacturer’s instructions and check the equipment in the clothing you actually plan to wear. Do not assume that every gaiter uses the same attachment system.
- Check that the stated sizing works with your lower legs and footwear.
- Inspect closures and other components for damage.
- Walk, step up, and crouch to check movement and comfort.
- Make adjustments before committing to a longer outing.
Our snake gaiter fit and adjustment guide provides a more detailed walkthrough. You can also review the product information on the AVENTURIX snake gaiters page before deciding whether they belong in your setup.
4. Pack for the hike, not just for snake concerns
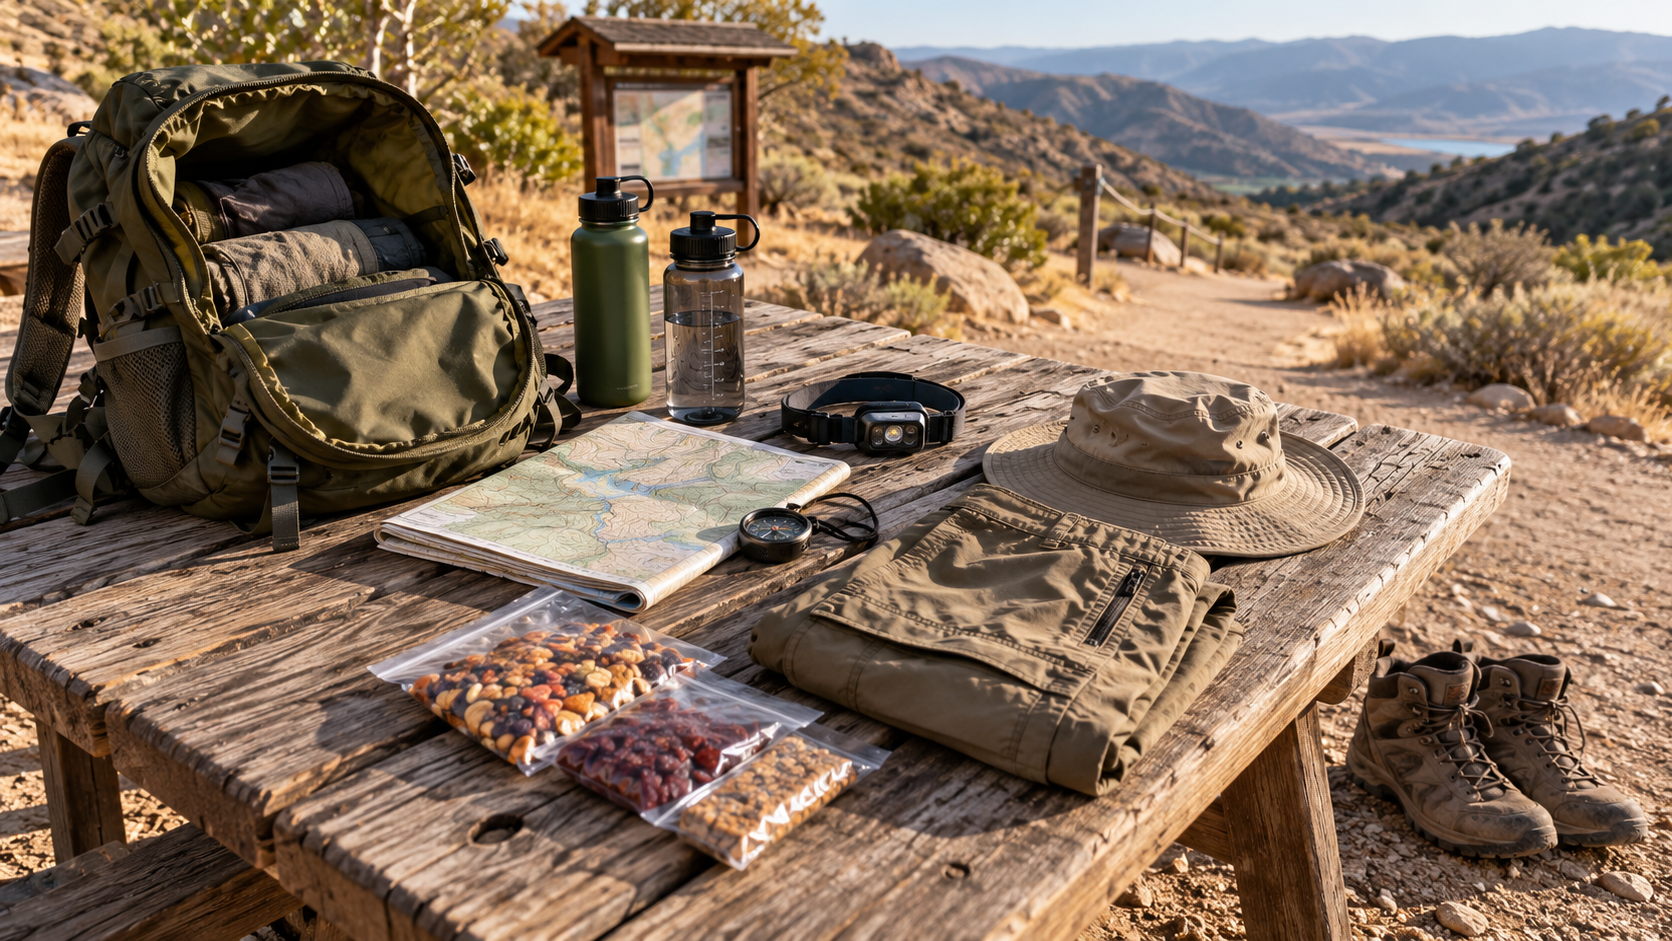
Keep your packing list balanced. Navigation, water, weather protection, and light remain essential considerations even when snakes are the reason you started researching the trip.
The National Park Service’s Ten Essentials is a useful starting point. Adapt it to the route, conditions, and people in your group.
- Navigation: carry a map and suitable navigation tools, and know how to use them.
- Light: bring a working headlamp or flashlight and spare power.
- Water and food: pack for the outing with a margin for delays.
- Weather protection: include appropriate layers and sun protection.
- Emergency supplies: carry first-aid supplies, personal medication, and emergency shelter appropriate to the trip.
Lay everything out before putting it into the pack. This makes it easier to notice the headlamp that needs batteries or the water bottle still waiting beside the sink.
5. Make your communication plan specific
Leave your route and expected return time with someone who is not joining the hike. Agree on what they should do if you are overdue, and tell them when you return.
The National Park Service’s trip-planning guide explains why a phone should not be your only preparation: coverage and battery power can fail.
Keep important route information accessible offline. If you carry an emergency communication device, learn its operation before you need it.
6. Run this final trailhead checklist
Before leaving the parking area, take a minute to check the plan against the conditions in front of you.
- Route: does today’s plan still suit the weather, available time, and group?
- Footwear: are your boots comfortable and any gaiters fitted according to their instructions?
- Pack: do you have your navigation tools, light, water, food, and other essential supplies?
- Communication: does your contact have the plan and expected return time?
- Decision: is everyone comfortable starting, or would a shorter option make more sense?
Good preparation for hiking in snake country starts with a realistic route, familiar equipment, and a plan for unexpected delays. These checks cannot eliminate every risk, but they can help you make better decisions before and during your hike.
If snake gaiters are part of your hiking checklist, review AVENTURIX’s product details and sizing information on Amazon before choosing a pair for your next outing.