
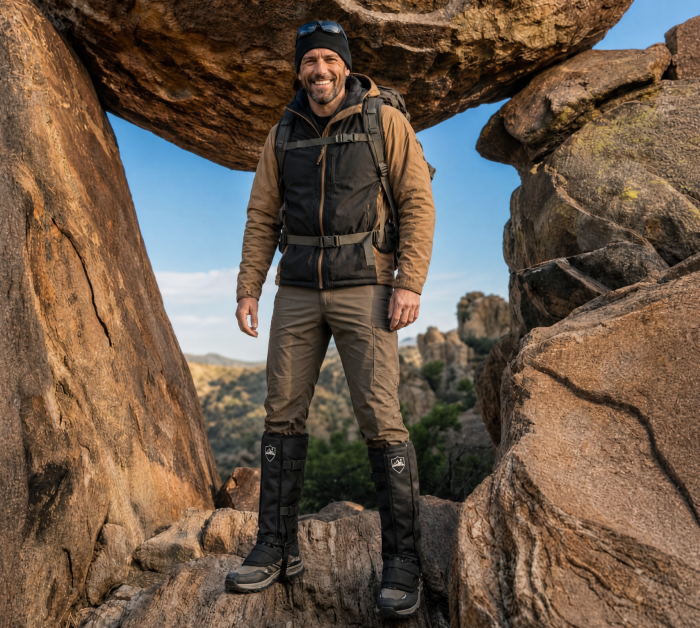
Choosing the right gaiters for hiking starts with the conditions you expect to encounter. Mud, loose stones, wet grass, snow, thorny brush, and possible snake exposure do not all require the same type of protection.
Some hikers only need a lightweight barrier around the top of their shoes. Others cross overgrown or rocky terrain where greater lower-leg coverage may be appropriate. Understanding that difference will help you choose equipment that matches the trail instead of simply buying the toughest-looking pair.
How to Choose Gaiters for Hiking
Start by identifying the problem you want the gaiters to solve. Do you mainly need to keep trail debris out of your shoes? Are you preparing for rain, snow, or muddy conditions? Will you be moving through tall grass, brush, or areas where venomous snakes may be present?
The answer determines the type of gaiter you should consider:
| Type of gaiter | Typical purpose | Usual coverage |
|---|---|---|
| Low or ankle gaiters | Helping keep sand, small stones, and trail debris out of footwear | Around the ankle and top of the shoe |
| Weather-oriented hiking gaiters | Helping manage mud, rain, wet vegetation, or snow | From the boot to the ankle, calf, or below the knee |
| Snake-protection gaiters | Adding a protective layer around the lower legs in snake country | Commonly from the boot area to below the knee |
A tall hiking gaiter is not automatically designed for snake protection. If that is your concern, look for a product specifically intended for that purpose and examine the evidence supporting its claims.
Match the Coverage to the Trail
A maintained path and an overgrown backcountry route present different challenges. On a clear trail, ankle coverage may be enough to keep small stones and dust out of your footwear. Tall grass, thorny vegetation, loose rock, and areas with limited visibility may justify more extensive lower-leg coverage.
When evaluating taller gaiters, look beyond the stated height. Check how they wrap around the calf and shin, how the closure overlaps, and how the lower edge meets your boots.
Product photographs should ideally show the front, sides, and back. A single front-facing image may not reveal gaps, closure placement, or which areas remain exposed.
Remember that lower-leg gaiters do not necessarily protect the feet, knees, or upper legs. The exact boundaries should be clear before you rely on them in the field.
Check Compatibility With Your Hiking Boots
Good gaiters should work with the boots, pants, and layers you actually plan to wear. A secure fit depends on more than calf size alone.
Before heading outside, put on your complete hiking setup and follow the manufacturer’s fitting instructions. Check any buckles, lace hooks, closures, and under-boot straps carefully.
Then perform a short indoor movement test:
- Walk normally and take several longer steps.
- Step onto a low, stable surface.
- Raise each knee as if climbing a steep section.
- Carefully squat and bend at the ankles.
- Check whether the gaiters rotate, slide, pinch, or restrict movement.
- Recheck every attachment after moving.
The gaiters should remain stable without being tightened to the point of discomfort. Numbness, pressure points, rubbing, or restricted circulation indicate that the sizing or adjustment needs attention.
Consider Comfort on Climbs and Long Routes
Trail comfort is not determined by weight alone. Stiffness, heat, strap placement, boot compatibility, and the way a gaiter moves with your stride can all affect the experience.
A short fitting session cannot fully reproduce a long hike, but it can reveal obvious problems. Pay particular attention to the area behind the knee, around the ankle, and underneath the boot.
Think about the route as well. A hiker on a flat woodland path may move differently from someone climbing rocky switchbacks, stepping over fallen timber, or scrambling across loose terrain.
Choose gaiters that provide the coverage you need without creating a new distraction every time your stride changes.
Understand Water and Weather Claims
Terms such as “water-resistant” and “waterproof” should not be used interchangeably.
A water-resistant outer fabric may help shed light rain, splashes, mud, or contact with damp vegetation. That does not mean the entire gaiter is waterproof or suitable for standing in streams, prolonged exposure to heavy rain, or immersion.
If weather protection is your main priority, examine the fabric, seams, closure design, and intended use. Also consider whether moisture can enter from above or around the boot.
Snake-protection gaiters may provide some resistance to mud and wet vegetation, but that does not automatically make them a replacement for dedicated rain, snow, or mountaineering gaiters.
Evaluate Protection Claims Carefully
If you hike in areas where snakes may be present, do not rely only on phrases such as “heavy duty” or “snake proof.” Look for specific construction details, test information, instructions, and clearly stated limitations.
AVENTURIX Snake Gaiters use a 1680D ballistic nylon outer shell with a PU coating and a protective inner layer. Product information states that the construction was tested by SGS using the ASTM F1342 puncture-resistance test method.
Testing offers useful evidence about performance under defined conditions. It does not guarantee an identical result for every species, strike angle, fang, fitting condition, or real-world encounter. Protective equipment should never be treated as permission to approach or handle a snake.
For a broader explanation of sizing, coverage, fit, and test claims, see our guide to choosing snake gaiters.
Use Extra Awareness in Snake Country
Gaiters are only one part of preparing for a trail where snakes may be present. Continue watching where you step and where you place your hands, especially near logs, rocks, brush, and areas where you cannot see the ground clearly.
The National Park Service guidance for Saguaro National Park advises visitors not to harass snakes, not to place their hands or feet where they cannot see, and to use a flashlight after dark.
Conditions and species vary by location, so review official guidance for your destination before the hike. Do not assume that a snake will always move, rattle, or otherwise warn you before you get close.
Complete a Pre-Hike Equipment Check
Inspect your gaiters before every outing, particularly if they have already been used in rough or rocky terrain.
- Look for cuts, worn areas, damaged seams, or punctures.
- Check each buckle, strap, hook, and closure.
- Confirm that the gaiters are positioned on the correct legs.
- Make sure under-boot straps lie flat and are not excessively worn.
- Secure loose ends that could catch on vegetation.
- Walk, climb a step, and bend your knees before starting the route.
If a component involved in fit or protection is damaged, follow the manufacturer’s guidance before using the gaiters again. A repair that improves appearance does not necessarily restore the original performance.
Clean and Inspect Them After the Trail
Remove dirt, mud, and vegetation according to the product’s care instructions. Allow the gaiters to dry completely before placing them in a storage bag or enclosed space.
Cleaning also gives you an opportunity to inspect the fabric, seams, closures, hooks, and straps. Finding wear after one hike gives you time to address it before the next.
Choose Gaiters for the Conditions You Expect
The best gaiters for hiking are not necessarily the tallest, lightest, or most heavily advertised. They are the ones designed for the problem you need to solve, compatible with your boots, and comfortable enough for the route ahead.
If your hikes take you through brush, rocky ground, tall grass, or areas where snakes may be present, you can explore AVENTURIX Snake Gaiters and follow the link to view current purchasing information on Amazon.
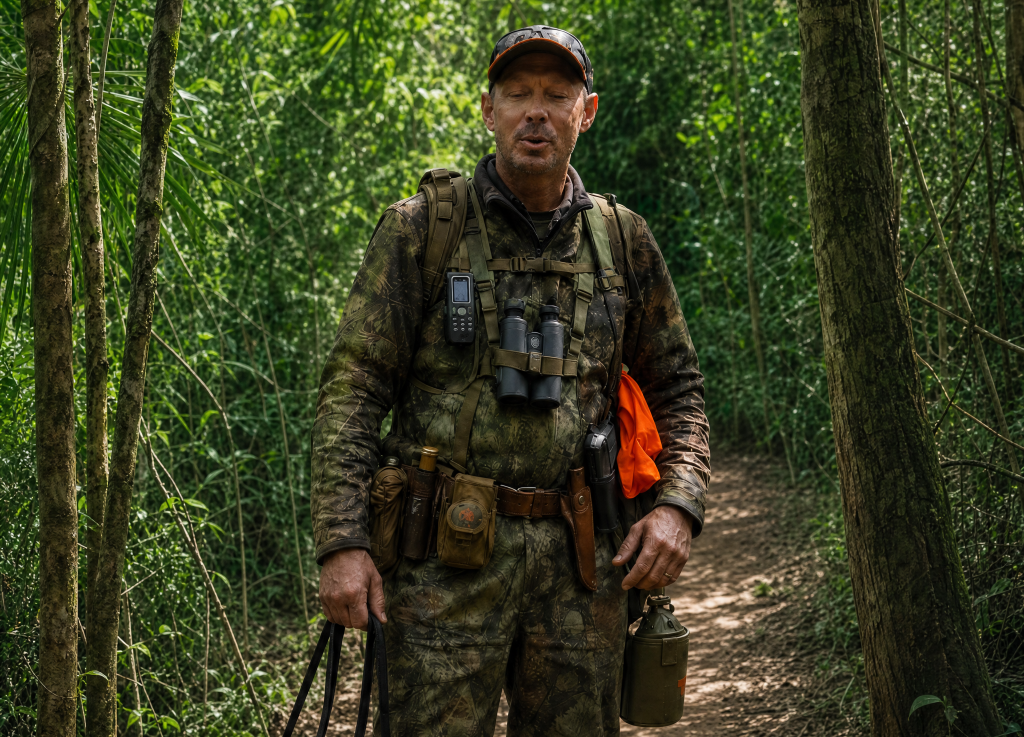

Good for brushy paths and rocky sections. Feels ready for rough terrain.
Straps adjust easily and the buckles feel secure. No slipping during the hike.
Just got my AVENTURIX gaiters and took them on a weekend hike — really like the coverage and how they stay put.